My Pinocchio boards arrived today in the mail. By the way I’m going to continue to call them Pinocchio rather than it to spelling Pinoccio simply because it’s easier to dictate using my voice control software wherein I do not need to go back and delete the “h” each time I type the word. For an explanation of the name you can see their FAQ here.
This board started out as a crowdsource funded project on indiegogo.com. It was billed as “A Complete Eco-System for Building the Internet of Things”. It consists of an ATmega256RFr2 microprocessor, a USB interface, a temperature sensor, an RGB LED, and a LiPo battery. The mesh radio built into the chip is a 2.4 GHz transceiver supposedly capable of ZigBee and IEEE 802.15.4 transmission although I’ve not yet seen anything about how to communicate with X-Bee or ZigBee modules from other manufacturers.
The package I ordered as part of my funding sent me two modules, one of them with a Wi-Fi shield or backpack as they call them. They call the boards “Scouts” so the one with the Wi-Fi shield is the “Lead Scout” and those without Wi-Fi are called “Field Scouts”. As a milestone perk I also got a prototyping shield and a small USB cable for charging and configuring. Here are some photos of the devices as shipped. (Click the images for larger view.)
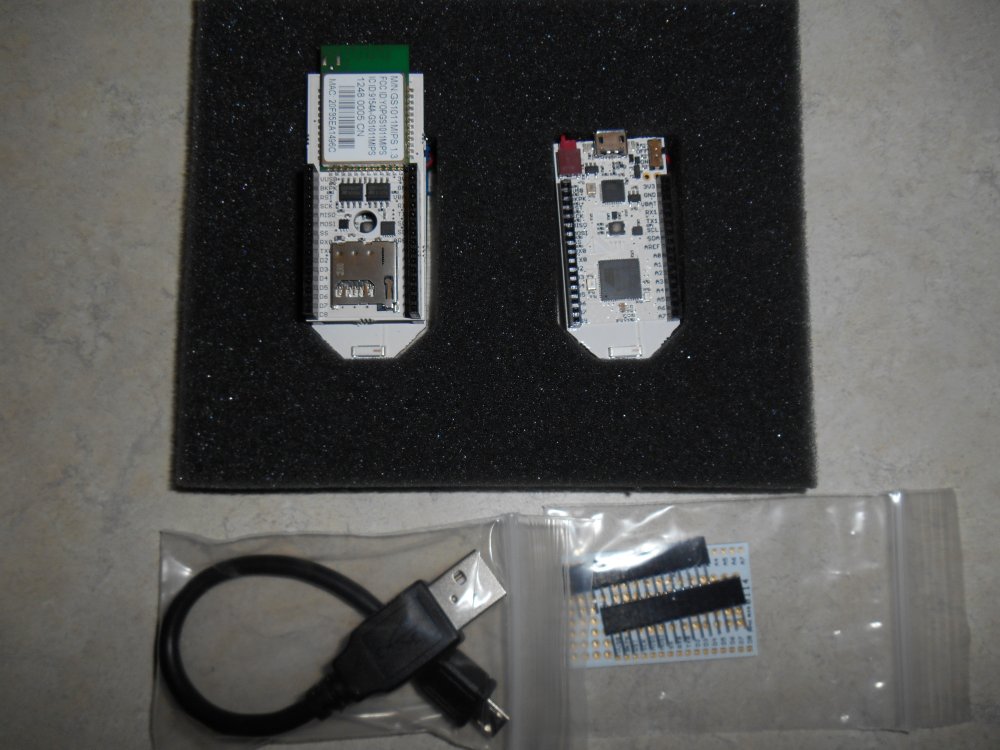
Everything I Got
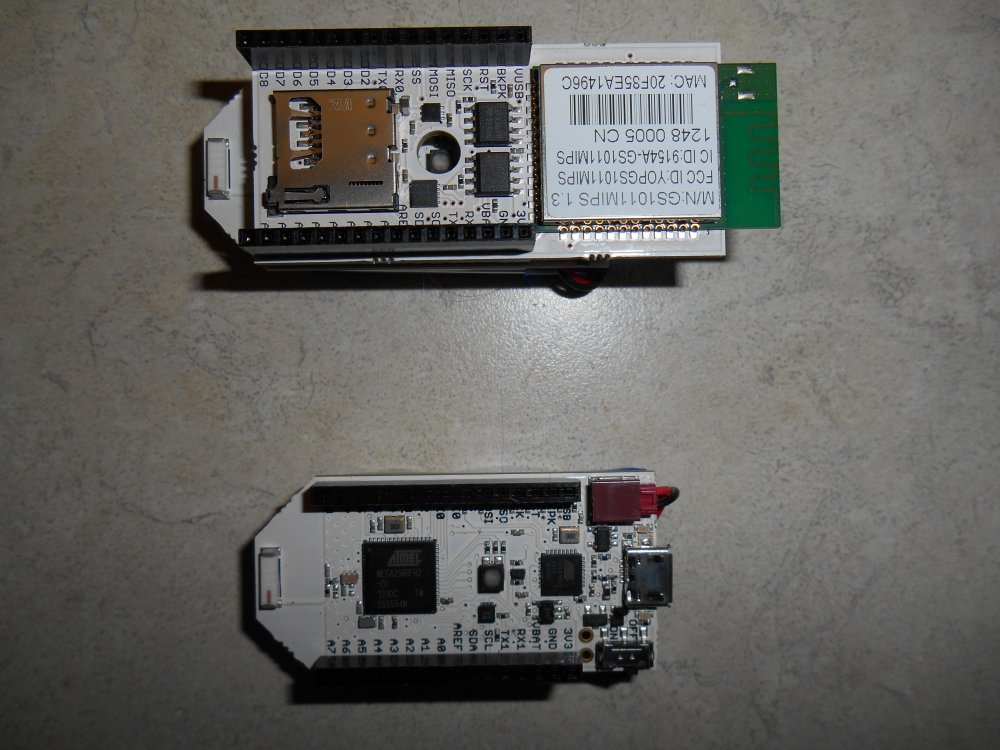
Topside view: Lead Scout with Wi-Fi on top. Field Scout below.
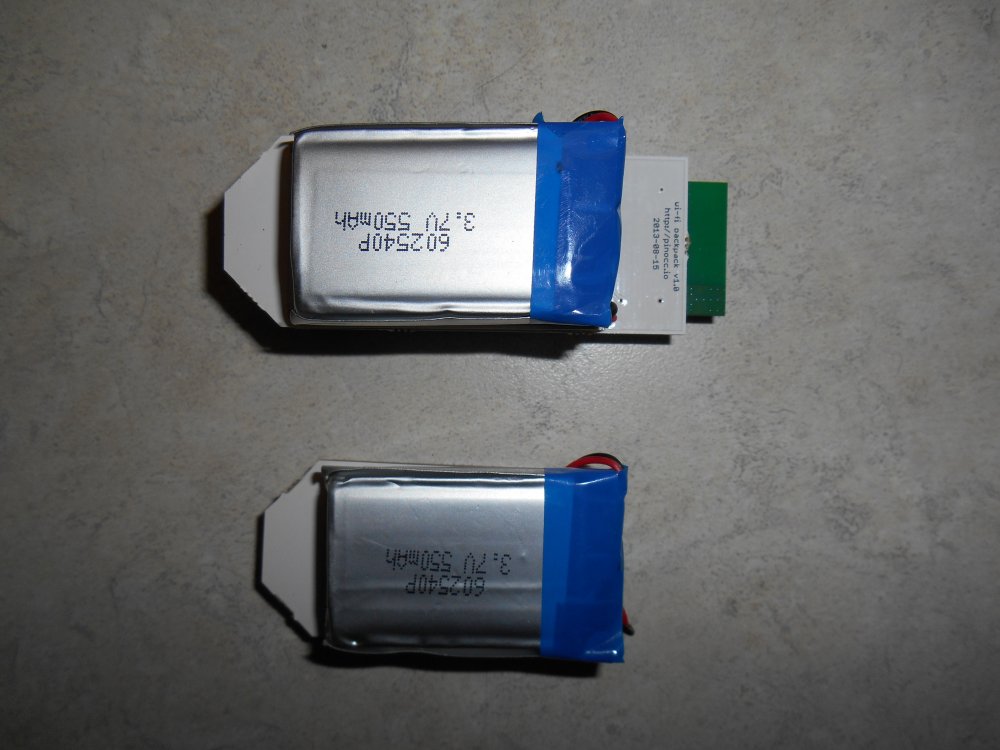
Bottom view showing battery.
The units use a micro USB cable. The first one I tried was a mini USB with an adapter on it. The adapter was too large because it got in the way of the Wi-Fi shield. I finally found a cable in my pile of cables. I wanted to be able to plug in both of them at once but as it turns out that may be a bad idea.
There was a card included that says to get started I should open a chrome browser and go to hq.pinocc.io and download their chrome app. I thought about browsing around the website and reading a bunch of documentation but one of the things the designers have said is that it ought to be easy to get started. They spent a lot of time working on the software and the front end for this thing rather than just creating the hardware and sending them out. In fact the original deadline for shipping was last July and here is the following April. So I thought I would give it the acid test and play dumb and see what I can find.
The app loaded just fine and I got a screen that told me to click to add a Scout control panel. They call the control panel “HQ” The first thing it said I had to do was to downloading Windows driver and install it. They tell you to plug in the device first and then it would tell me that no driver was available. Then it suggested I go to Device Manager via Control Panel in Windows and then I would find the device under “Ports (COM & LPT)”. It was not there it was under “Other devices” which is no big deal. I downloaded the driver and unzipped it into a folder. I would’ve preferred a self extracting installer but that was no big deal. When I tried to install the driver, Windows for bid me because it was not signed. No mention of that fact in any of their documentation so minus a few points for that problem as well. This was a Windows 8.1 64 bit machine. I had had trouble loading Arduino drivers on my laptop for the same reason and I found a website that explains how to permanently turn off that feature. I don’t know why I had not had the similar problem with Arduino drivers on my desktop Windows 8.1 PC. If you are interested… here is the website that tells you how to do it. That went relatively well.
Then I went to the process of configuring the lead scout. It took me several attempts and some email exchanges with their technical support people. Eventually it did start working but I’m not really sure what we did to fix it. It seemed to me that the steps they outline history followed in an exact precise manner.
Scouts in a mesh are configured together in something called a “troop”. So the first thing you have to do is give it a troop name. I chose “The Collective” (as an homage to Star Trek’s Borg). Then you name your lead Scout. I chose “Picard”. It then searches for Wi-Fi signals and asks you which Wi-Fi it should try to connect to. You are the Wi-Fi from the list and enter your password. There’s also a manual option if it cannot detect your Wi-Fi. When you completed that a screen pops up telling you that it succeeded adding your lead Scout to the Scout HQ. It then tells you to unplug the device so that it will reset and reconnect to your Wi-Fi. After that you click on the button that says “Done”. Apparently they are very picky about the order. You cannot click done until you’ve unplug the device and give it time to reset. Even then I had difficulty getting it to work right. In the end the only reliable way I could configure it was to unplug it and turn its power switch off and on. Then wait a few seconds before clicking done. Oh by the way when you first plug it in, the HQ searches for it and tells you that he could not find the device and that you probably forgot to turn it on. But it doesn’t tell you where the switch is. It’s not obvious. Anyway after unplugging, cycling the power switch, waiting a few seconds, and then clicking the done button it seemed to work okay.
You go to the same process for the field Scout although it does not prompt you for Wi-Fi information since it doesn’t have Wi-Fi.
The HQ app gives you the ability to turn on the RGB LED and change colors. It tells you the percent your battery is charged any gives you the temperature from the temperature sensor. I took my field Scout outside to see what the outside temperature was. Unfortunately it was raining so we had to put it in a plastic bag when sitting it out on the back porch. I don’t know how accurate the temperature was but it did change to a reasonable value. There are also controls for configuring the several I/O pins. There’s also a command line for sending for sending script commands. Here are some screen grabs showing the two scouts.
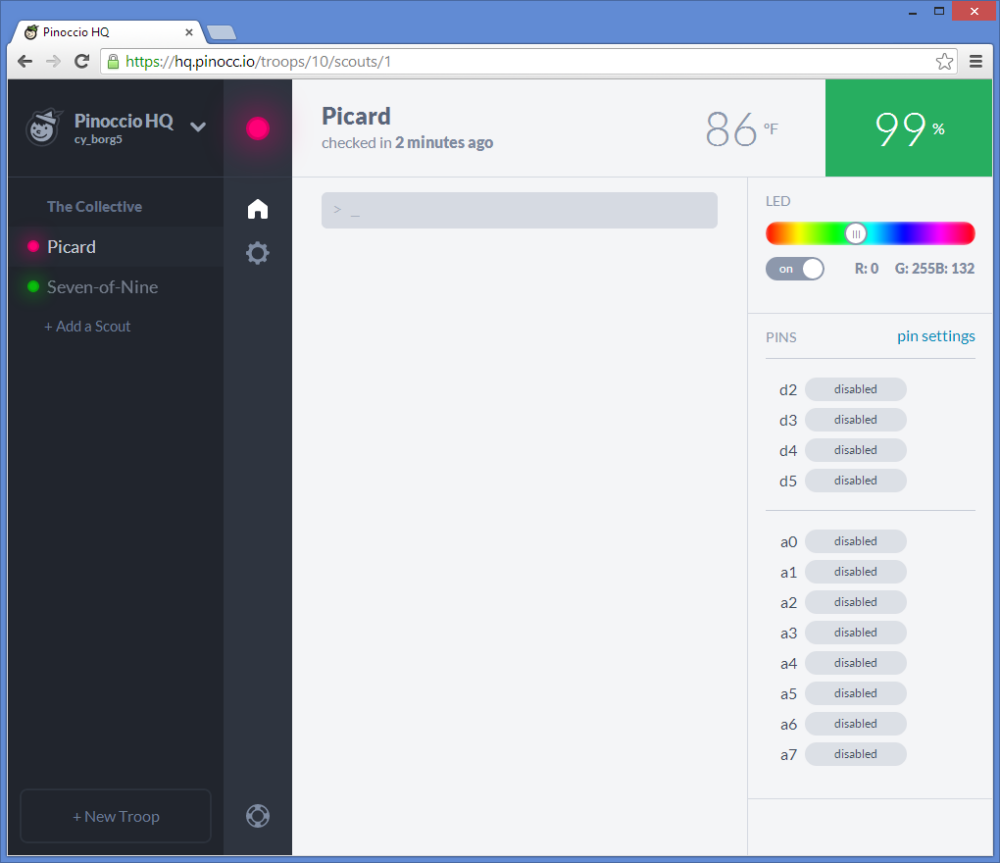
HQ control panel for the lead scout “Picard”
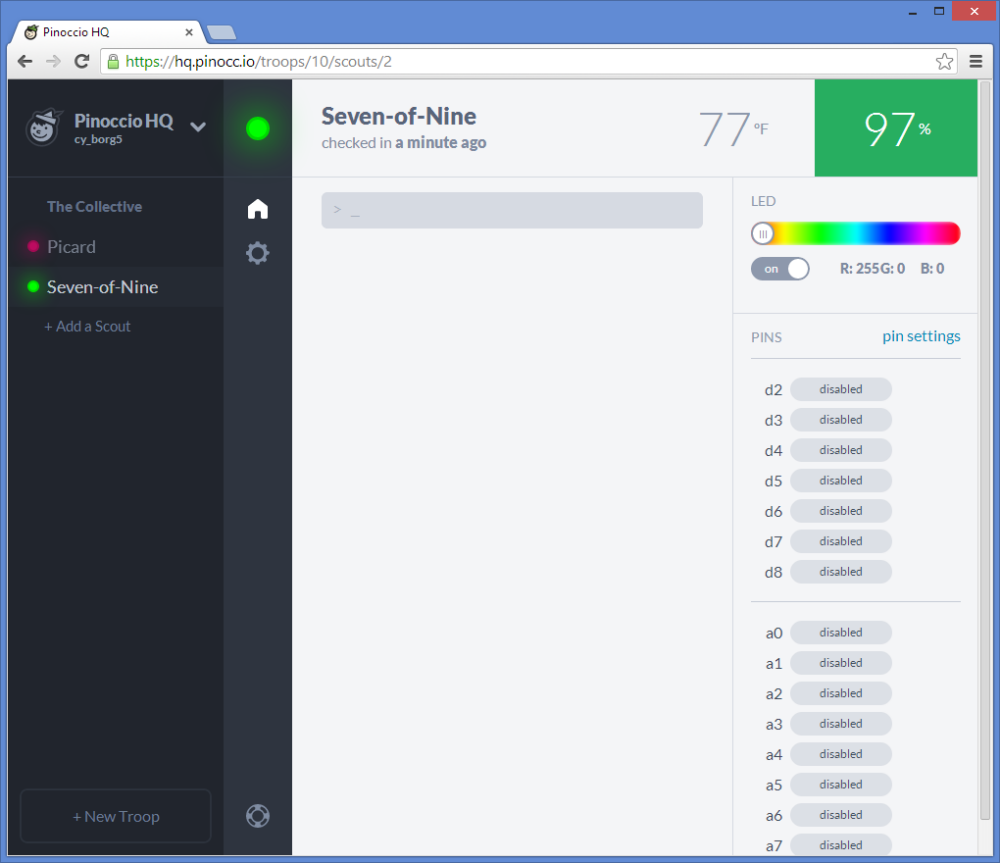
HQ control panel for field scout “Seven-of-Nine”
There are variety of script commands that you can use on the command line. Here is a link to the reference page.
The next thing I tried to do was use the Arduino IDE. You have to download a beta version because the current IDE does not support that chip. Again is a zip file rather than an installer. I already had the current production Arduino IDE installed on this machine. I took a chance and just copied the new files over the old ones. Apparently that was not the right thing to do because when I tried to compile an example sketch I get a “compiler error” with no error message whatsoever. I will probably go back and uninstall original Arduino IDE and delete all the files and try to reinstall the beta version from scratch. But that’s a task for tomorrow.
It’s going to be a steep learning curve to do anything really useful with this. Of course my ultimate goal is to port my IRLib and use it to make an “Internet-of-Things” infrared remote. Let’s going to take lots of time with data sheets and schematics. It looks like as powerful system but are not a long way to go in order to get it to do what I wanted to do.