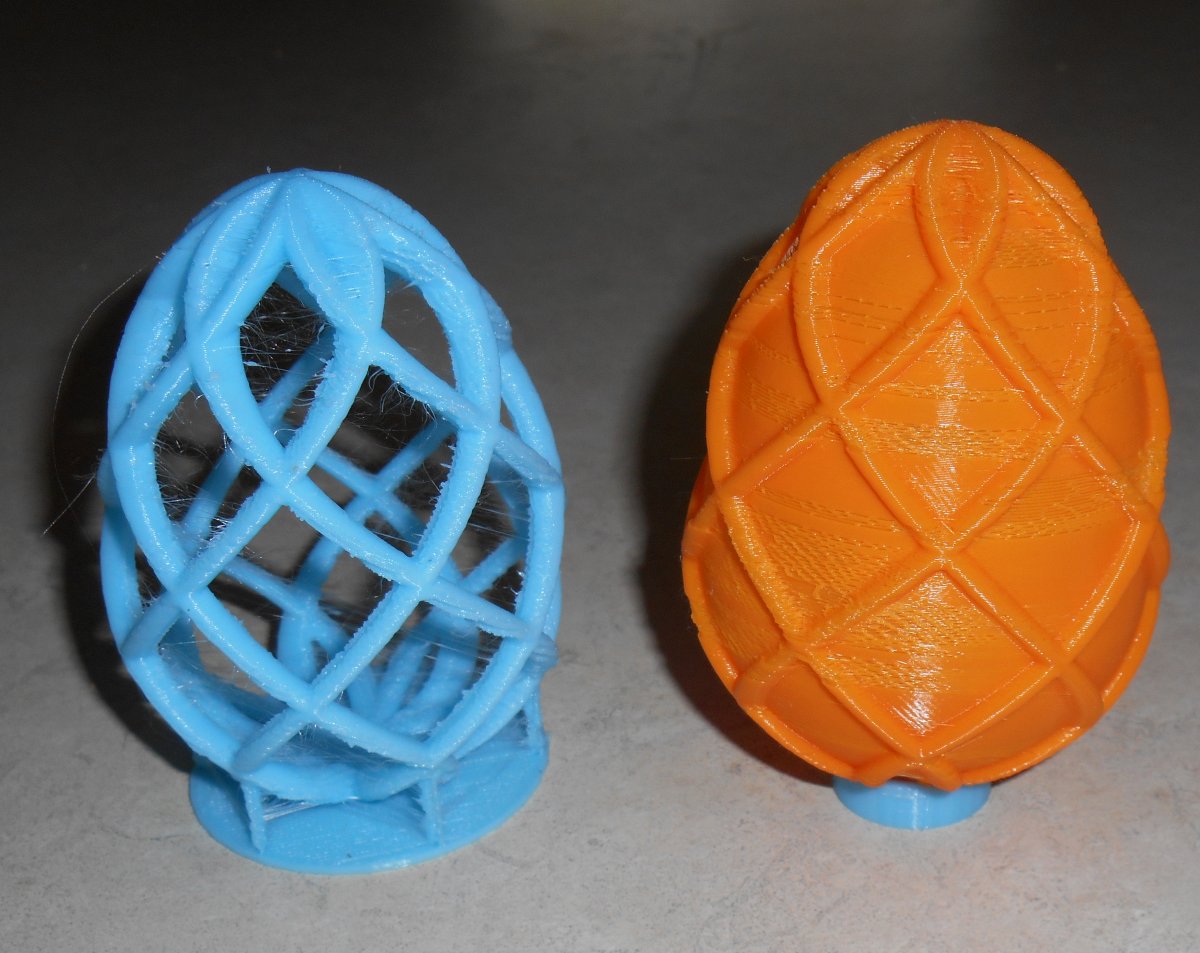
Last Christmas I made some 3D printed Christmas ornaments so when Easter rolled around this year I decided I would try my hand at designing some 3D printed Easter eggs. Here are the results…
Just like my twisted spear and twisted tree ornaments from Christmas, this one consists of basic shapes given a twist and multiplied at different angles. For the egg I started out with a simple doughnut shape called a torus, selected the top half and scaled that by 1.75 in the vertical to make a basic egg shape.
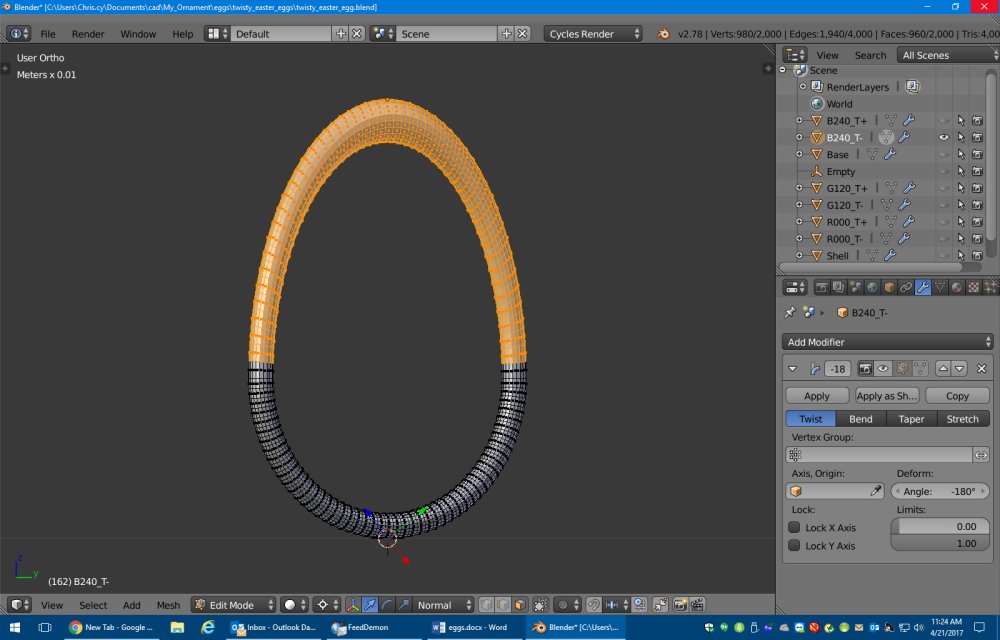 en twisted the shape 180° like this.
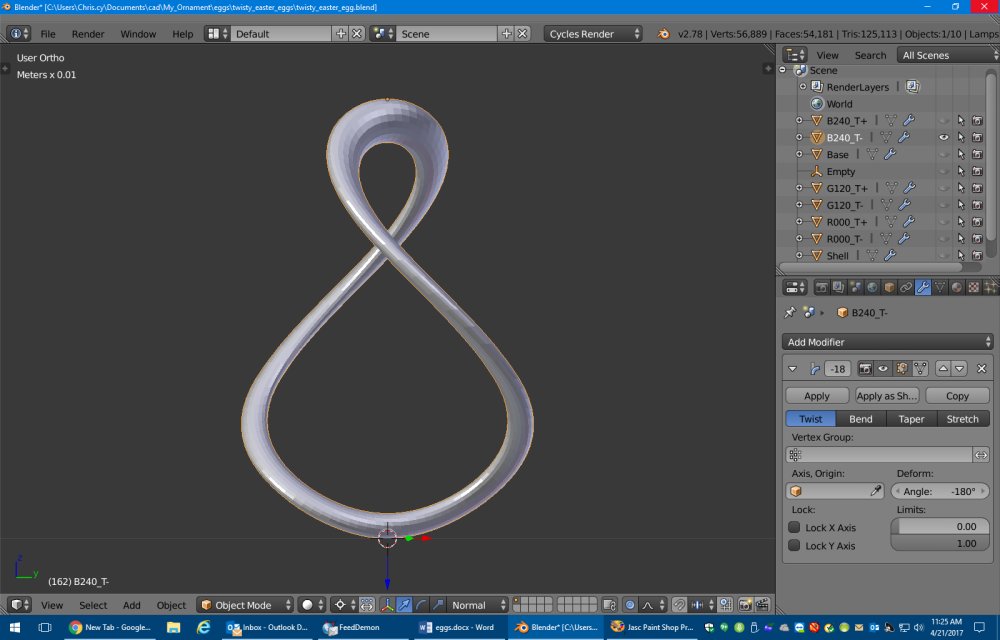
I then made another copy and twisted it 180° the opposite direction. Here I have color-coded each piece light blue and dark so you can see which is which.
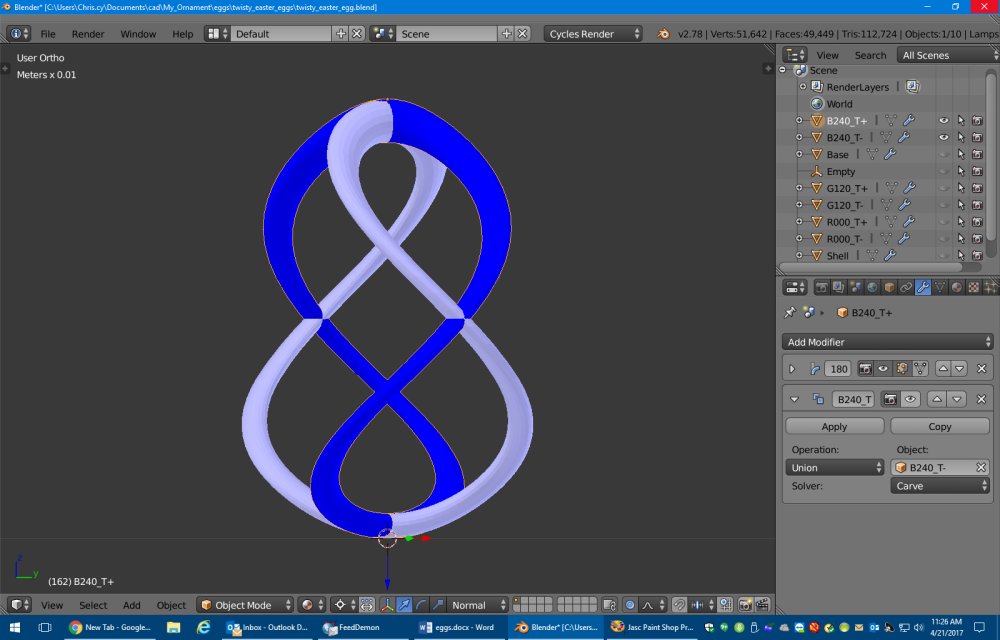
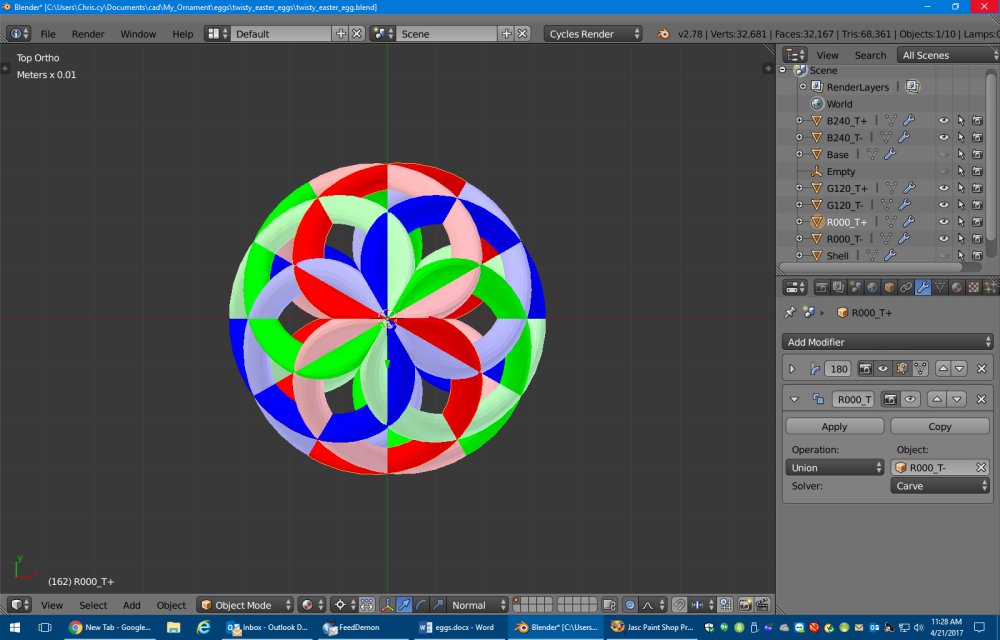
I then made two more copies and rotated them 120° and 240° respectively so that we have a total of six twisted tori. I’ve color-coded all of these as well. There is both a front view at a top view.

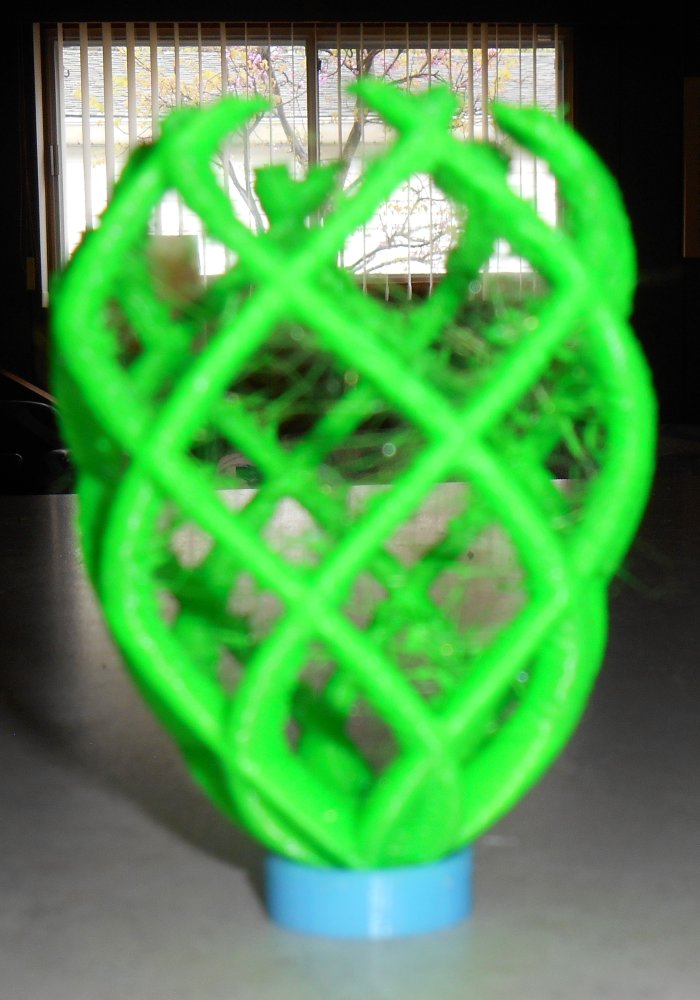
l started wobbling as it printed and I ended up stopping the print because it was just coming out too nasty. I also had lots of problems with threads. Here’s a photo of my first failed print sitting up on a little podium I built.
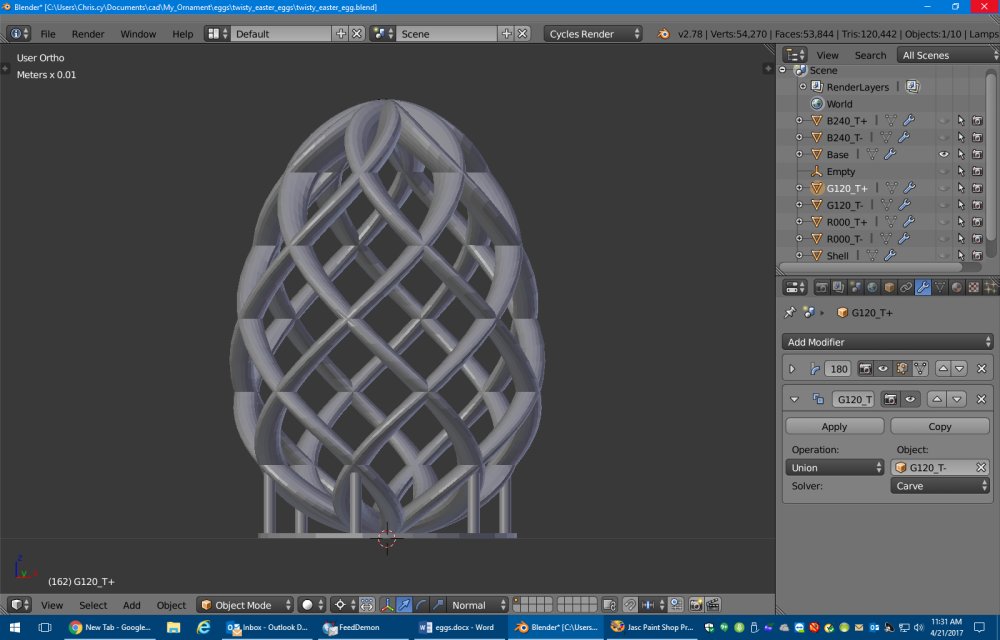
I tried putting supports under it but the automatic support system in Simplify 3D was also creating supports inside the egg which I didn’t want. And I couldn’t get the manually placed supports where I wanted them. I decided to just go back to the CAD program and model supports exactly the way I wanted them and then not use supports in the slicer. I added a base disc and six pillars. These pillars were not necessarily traditional supports to make overhangs print easier. Instead they were just to steady the model while it printed. By the way I was printing with 2 shells and no infill also with 4 top and 4 bottom layers. The base is 1 mm thick. The 6 supports were 2.5 mm in diameter.
Initially I was still printing with the point down and here is the results.
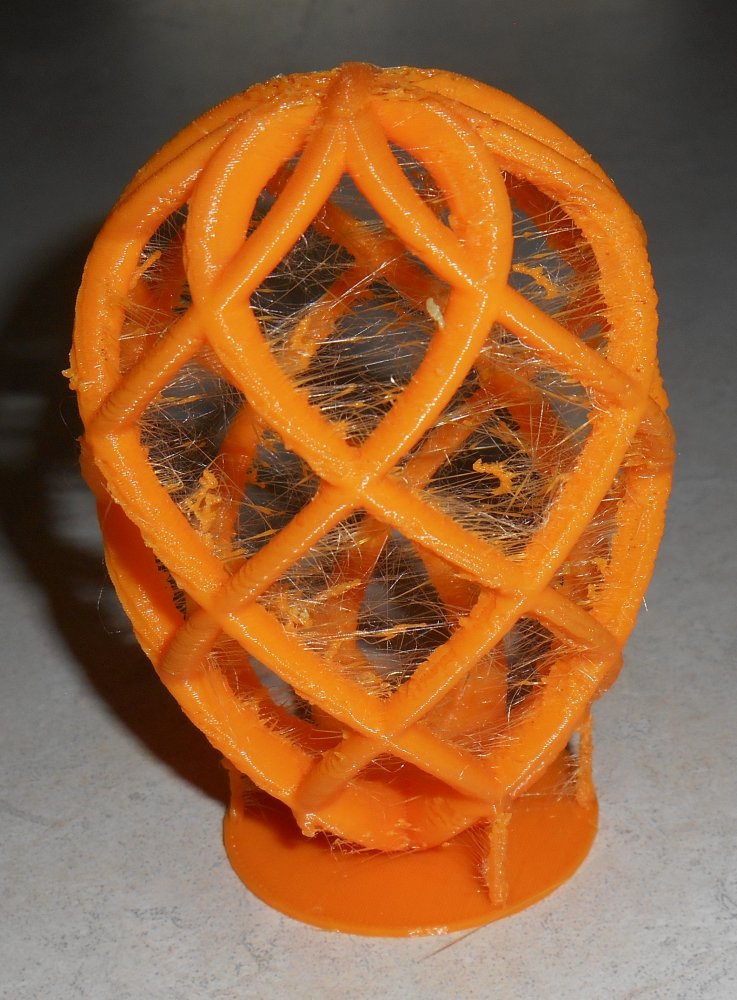
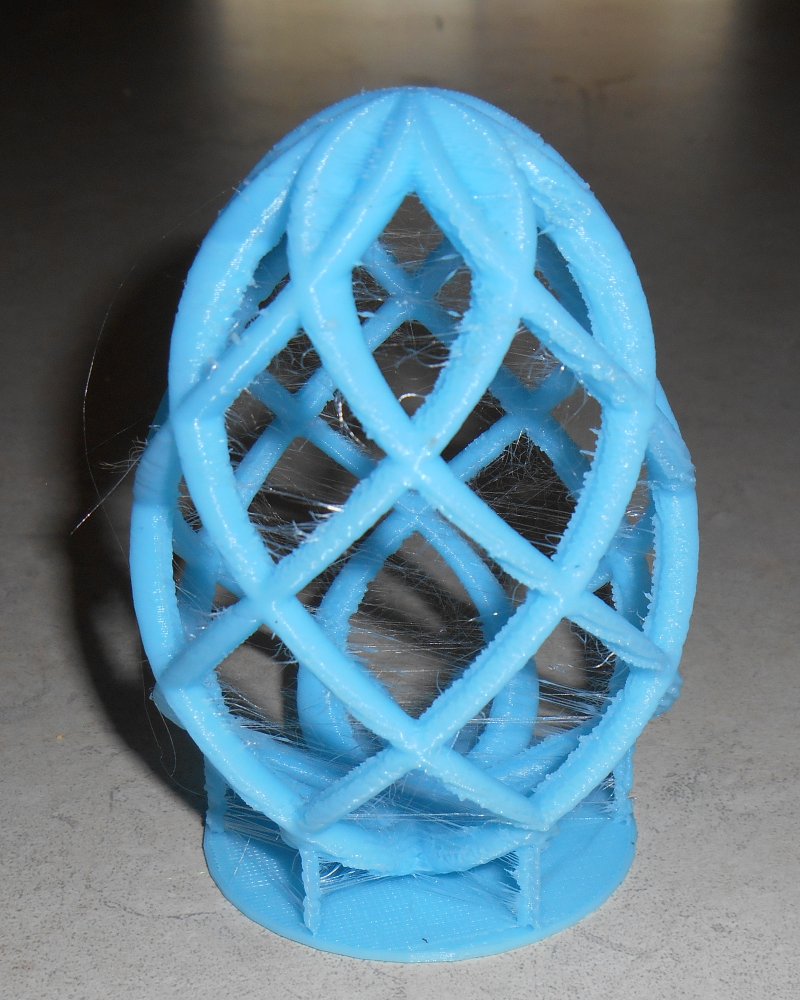
As you can see I was getting very bad threading. I also didn’t like the look of the model with the pointed end down and that’s when I turned things upside down and put the pointy end at the top to emphasize the egg shape. I also needed to try to reduce the threading somehow to get a cleaner print. I tried increasing the filament retraction and the Z lift but it didn’t help much. I finally decided to turn down the heat from 210°C down to 200°C. I made this change mid-print while printing this blue version. You can see the threading is still bad at the bottom but after I reduced the temperature it was still present but much less so. I didn’t want to experiment further by reducing the temperature so I let it finish at 200°C.
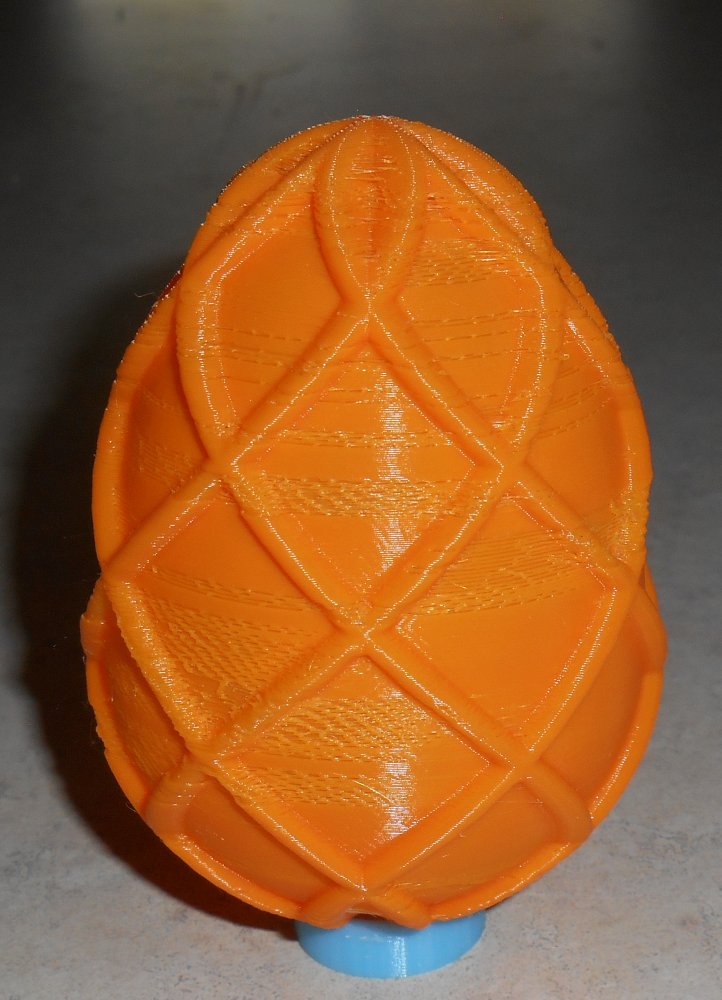
I also tried filling in the gaps in printing a solid shell. Again I started with a sphere shape, selected the top half, and scaled it appropriately. Here is the result.
All of this was modeled in Blender 3D which isn’t really designed to be a modeler for 3D printing. It’s more for rendering and animation but it does allow export to STL format. I’ve been using it because I didn’t want to learn multiple CAD programs and I was under the impression that Autodesk Fusion 360 would only allow you to use it for three years for free and then you had to register it at a very expensive subscription price. I’ve only recently learned that you can continue to renew your free license for enthusiast or student use without having to pay for subscriptions. Only commercial use for companies earning over $100,000 per year requires a paid subscription. I’m not quite sure how you would model this particular object using Fusion 360 but I haven’t had time to play with it yet.
Unfortunately Blender 3D has lots of problems when it comes to Boolean operations on objects or what we used to call in POV-Ray CSG for “constructive solid geometry”. It’s a process of taking multiple pieces and either merging or intersecting them. Although there have been some recent improvements in CSG operations on Blender 3D, it still struggles to merge or union objects that have coincident surfaces. Sometimes you can fudge one object or another by 1/10 of a millimeter and get it to work but it is very finicky.
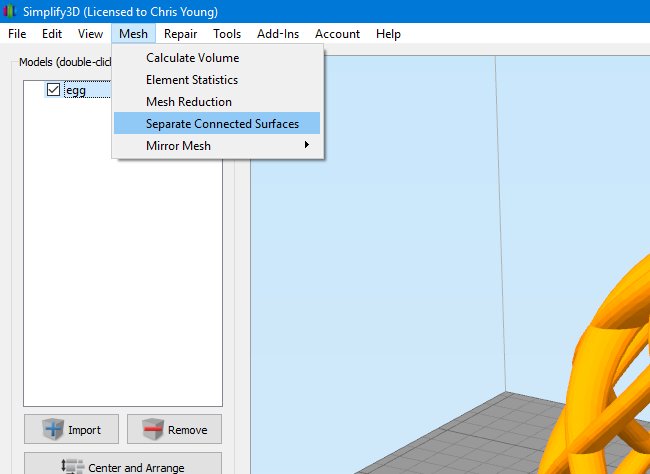
All of the prints shown here were done without merging the objects. I exported them as a single model with multiple parts. I used an option in Simplify 3D by clicking on “Mesh->Separate Connected Surfaces”.
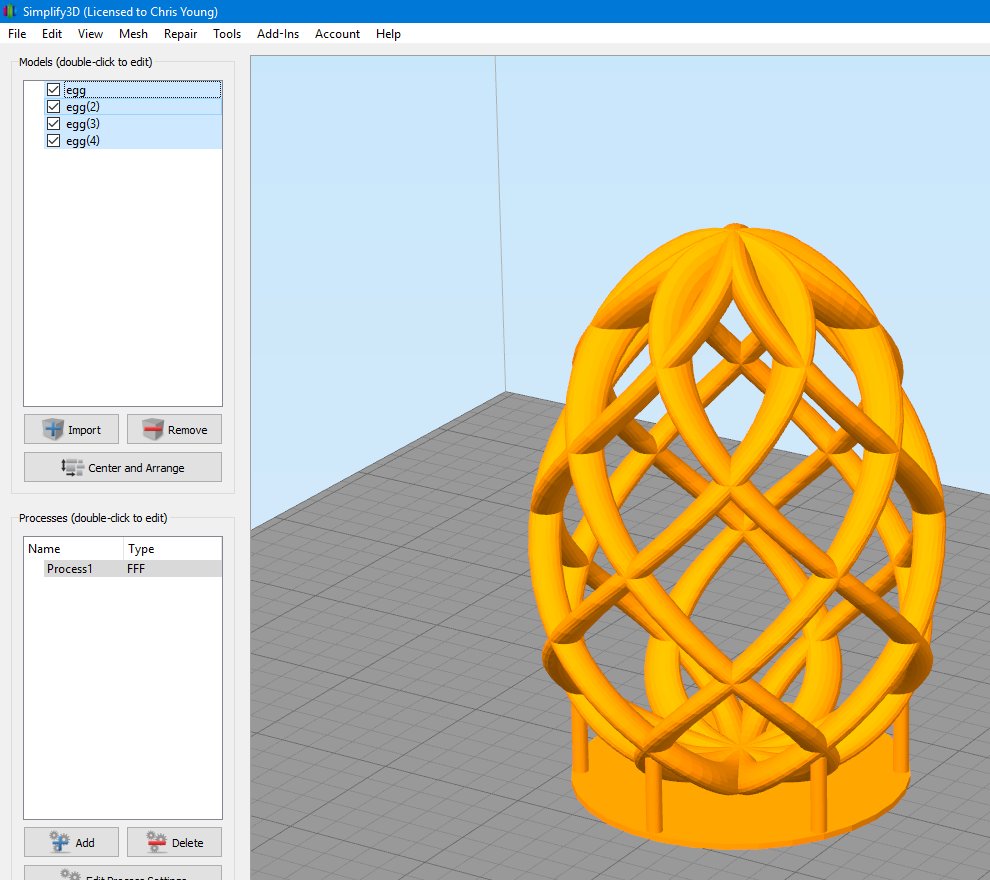
This in effect takes the multiple pieces and merges then in the slicer. There were still some issues with non-manifold parts of the model but I didn’t realize that until after I had printed them. After much tinkering using different options in Blender 3D and fudging the pieces back and forth I was able to get Blender 3D to create a single solid model. Those corrected models are the ones I’ve uploaded to Thingiverse however I have to admit I’ve not actually printed the versions I’ve uploaded. I’m still confident that not only will they print, they should print better than one’s that I actually printed myself.

I demonstrated this project on the Adafruit Show-and-Tell weekly video chat. Click on the icon on the right to see that video.
You can get the original Blender files, some intermediate blender files I used in creating the merged versions, and completed STL files that should print reasonably well. I recommend printing with 2 shells, no infill, and no supports. If you get threading, try turning down your heat. You’re still going to need to do some cleanup on the non-solid version. Threading is always going to be a problem with a print like this.
If you want to export from Blender 3D you can use the file “twisty_easter_egg_merged_2.blend”. If you select the object “Base” it will print the hollow version. If you select the object “Shell” it will print the solid version. The file “twisty_easter_ege.blend” is the original model before I tweaked and merged all the pieces. You can look at it to see how the original design was created.
You can get the files here on Thingiverse. Enjoy!